Thanks for downloading. Let's get you set up.
Your download has started. If it did not, download again .
Get started
Three steps to get started and edit with your agent.
-
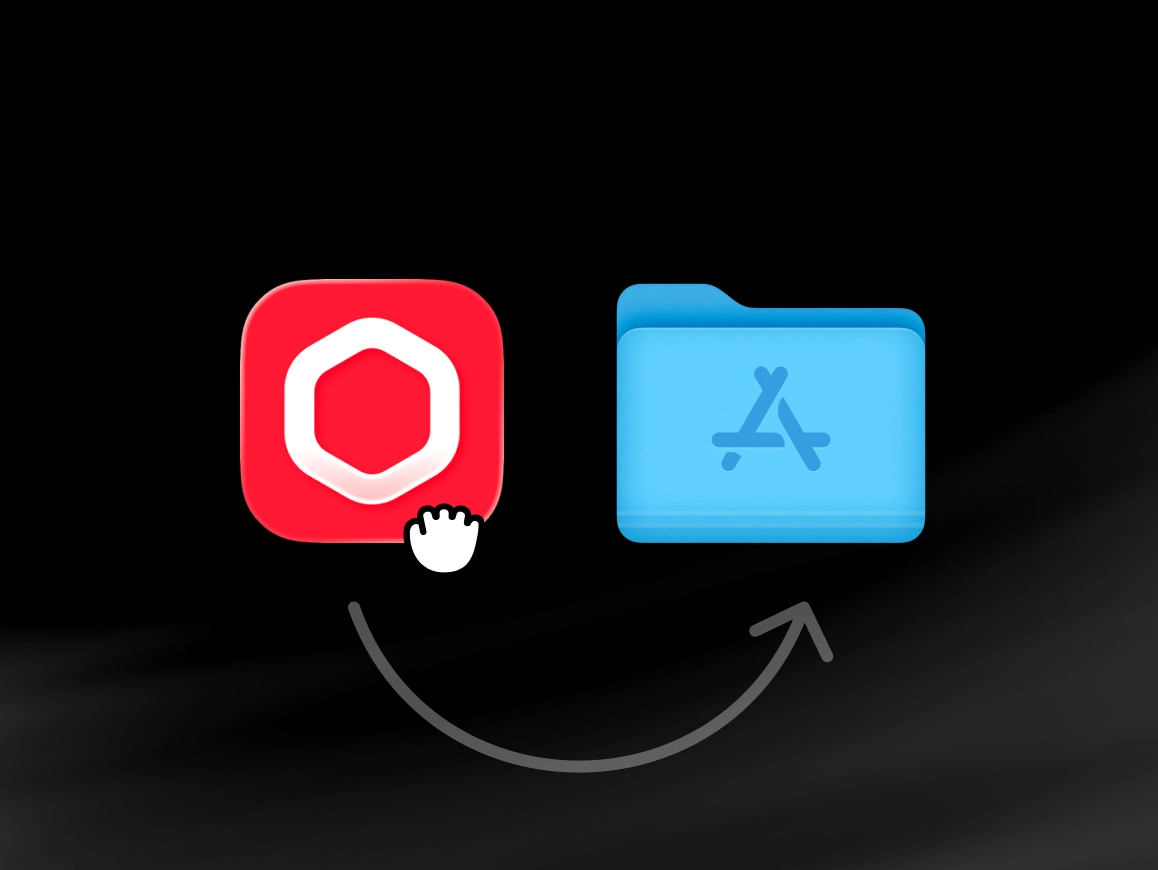
Install Diffusion Studio
Open the downloaded DMG file, drag Diffusion Studio into your Applications folder, then launch it from there.
-
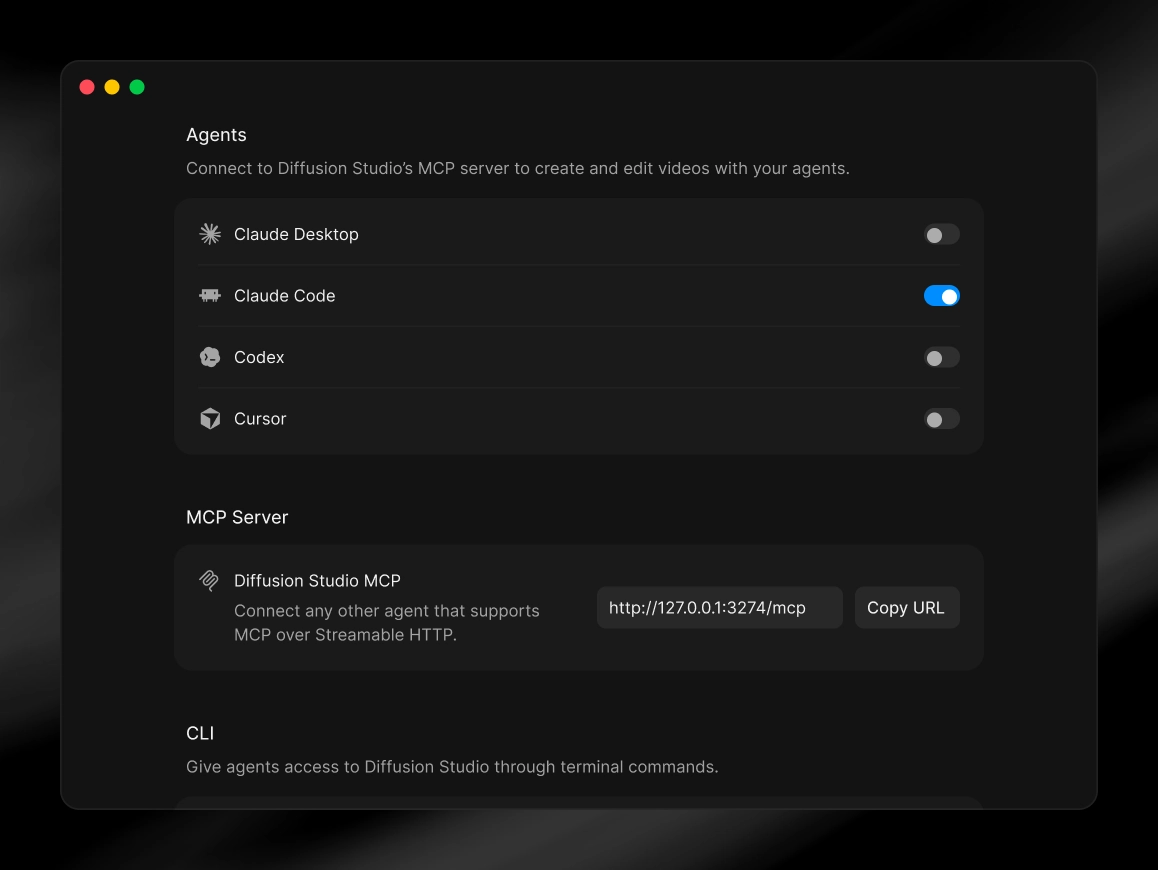
Connect your agent
Open Diffusion Studio, then connect your agent and install the dapi CLI in Settings under MCP & CLI.
-
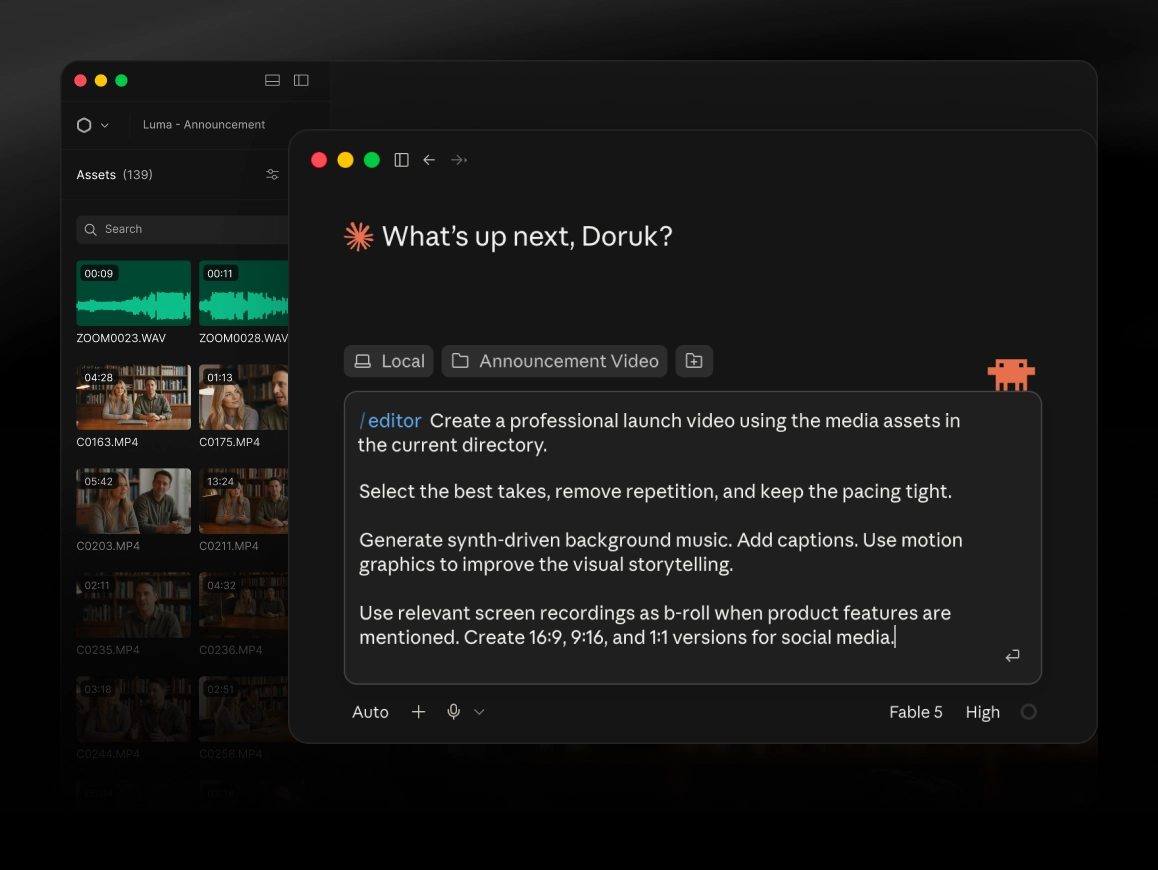
Edit with your agent
/editor is the main skill you'll use. Ask for what you want in plain language, your agent will handle the rest.
Need help?
Start with /editor and describe the finished video in plain language. Include your footage or its path, the target length and format, the purpose, any key moments to keep, and the style you want. You do not need to know any dapi commands.
/editor Turn the footage in this folder into a polished 60-second launch video. Choose the strongest takes, remove repetition, add readable captions and clean motion graphics, and end with our launch date. Keep asking for changes after the first pass. Everything your agent creates stays editable in Diffusion Studio. If you only want to inspect or ask questions about footage without editing it, use /watch. There are more prompt examples on GitHub.
Yes. For footage in Google Drive or another cloud folder, give your agent a share link or the file’s path on your Mac. Your agent will handle the download when it can access the link. If the source needs sign-in or permission, it will ask you to grant access or provide a local copy. The footage can stay outside the project, but keep the Diffusion Studio project folder on local disk rather than in a synced folder.
For YouTube, Instagram Reels, TikTok, and similar public links, paste the URL into your /editor request. Your agent uses dapi fetch to download supported links before editing them.
You can also give your agent a direct link to a video, image, or audio file.
Open the Diffusion Studio project folder in your coding agent. When you create a project, Diffusion Studio places it in your chosen projects folder, which defaults to ~/Movies/Diffusion Studio.
The project folder contains the composition, project instructions, and reference files your agent needs. Your footage can stay somewhere else. Give your agent the path to the footage folder, individual files, or a supported video link in your prompt.
If you start your agent from the footage folder, /editor can still inspect those files and create or open a project. Once the project exists, its folder is the better place to continue working.
The project open in Diffusion Studio is the one dapi controls. Your agent can run dapi context to confirm which project is open.
A Diffusion Studio project is a normal folder, so you can create a Git repository inside it:
git init
git add .
git commit -m "Initial Diffusion Studio project"
Keep your composition files, package.json, package-lock.json if one exists, tsconfig.json, assets.yml, README.md, AGENTS.md, and .gitignore.
Diffusion Studio creates a .gitignore that excludes:
node_modules/
cache/
.diffusion/
These hold installed packages, temporary files, and app-owned reference files that Diffusion Studio can recreate.
The assets/ folder is not ignored because it may contain files the project needs. Commit small project assets. For large video, audio, and generated files, use Git LFS or keep them in external storage and relink them on each machine.
Files imported from your Mac are linked rather than copied. Git will not include the original media unless you place it inside the project. Check assets.yml before publishing a repository, since linked media may leave local file paths in it.
If you do not want final renders in Git, add exports/ to .gitignore.
Make sure Diffusion Studio is in your Applications folder and relaunch it. If the Connect your agent screen is still open, click Install next to Agent skills.
If you skipped setup or /editor is still missing, run:
$ npx skills add diffusionstudio/skills -g -y --all Then start a new session in your coding agent and try /editor again.
If the Connect your agent screen is still open, click Install next to dapi CLI and approve the macOS prompt.
If you skipped setup, open Diffusion Studio and choose Diffusion Studio → Install dapi Command Line Tool from the menu bar. Then run dapi --help in your terminal.
If your terminal still cannot find dapi, link it by hand:
$ sudo ln -sf "/Applications/Diffusion Studio.app/Contents/Resources/cli/bin/dapi" /usr/local/bin/dapi Run dapi --help again. If you see the command list, dapi is ready.
Diffusion Studio must run on the same Mac as your coding agent. Run dapi open to launch the app, or run dapi open /path/to/project to open a specific project.
Then run dapi context. If projectDir is empty, no project is open. Open or create a project and try your /editor request again. If your terminal cannot run dapi at all, follow the dapi: command not found steps above.