Custom controls for video projects
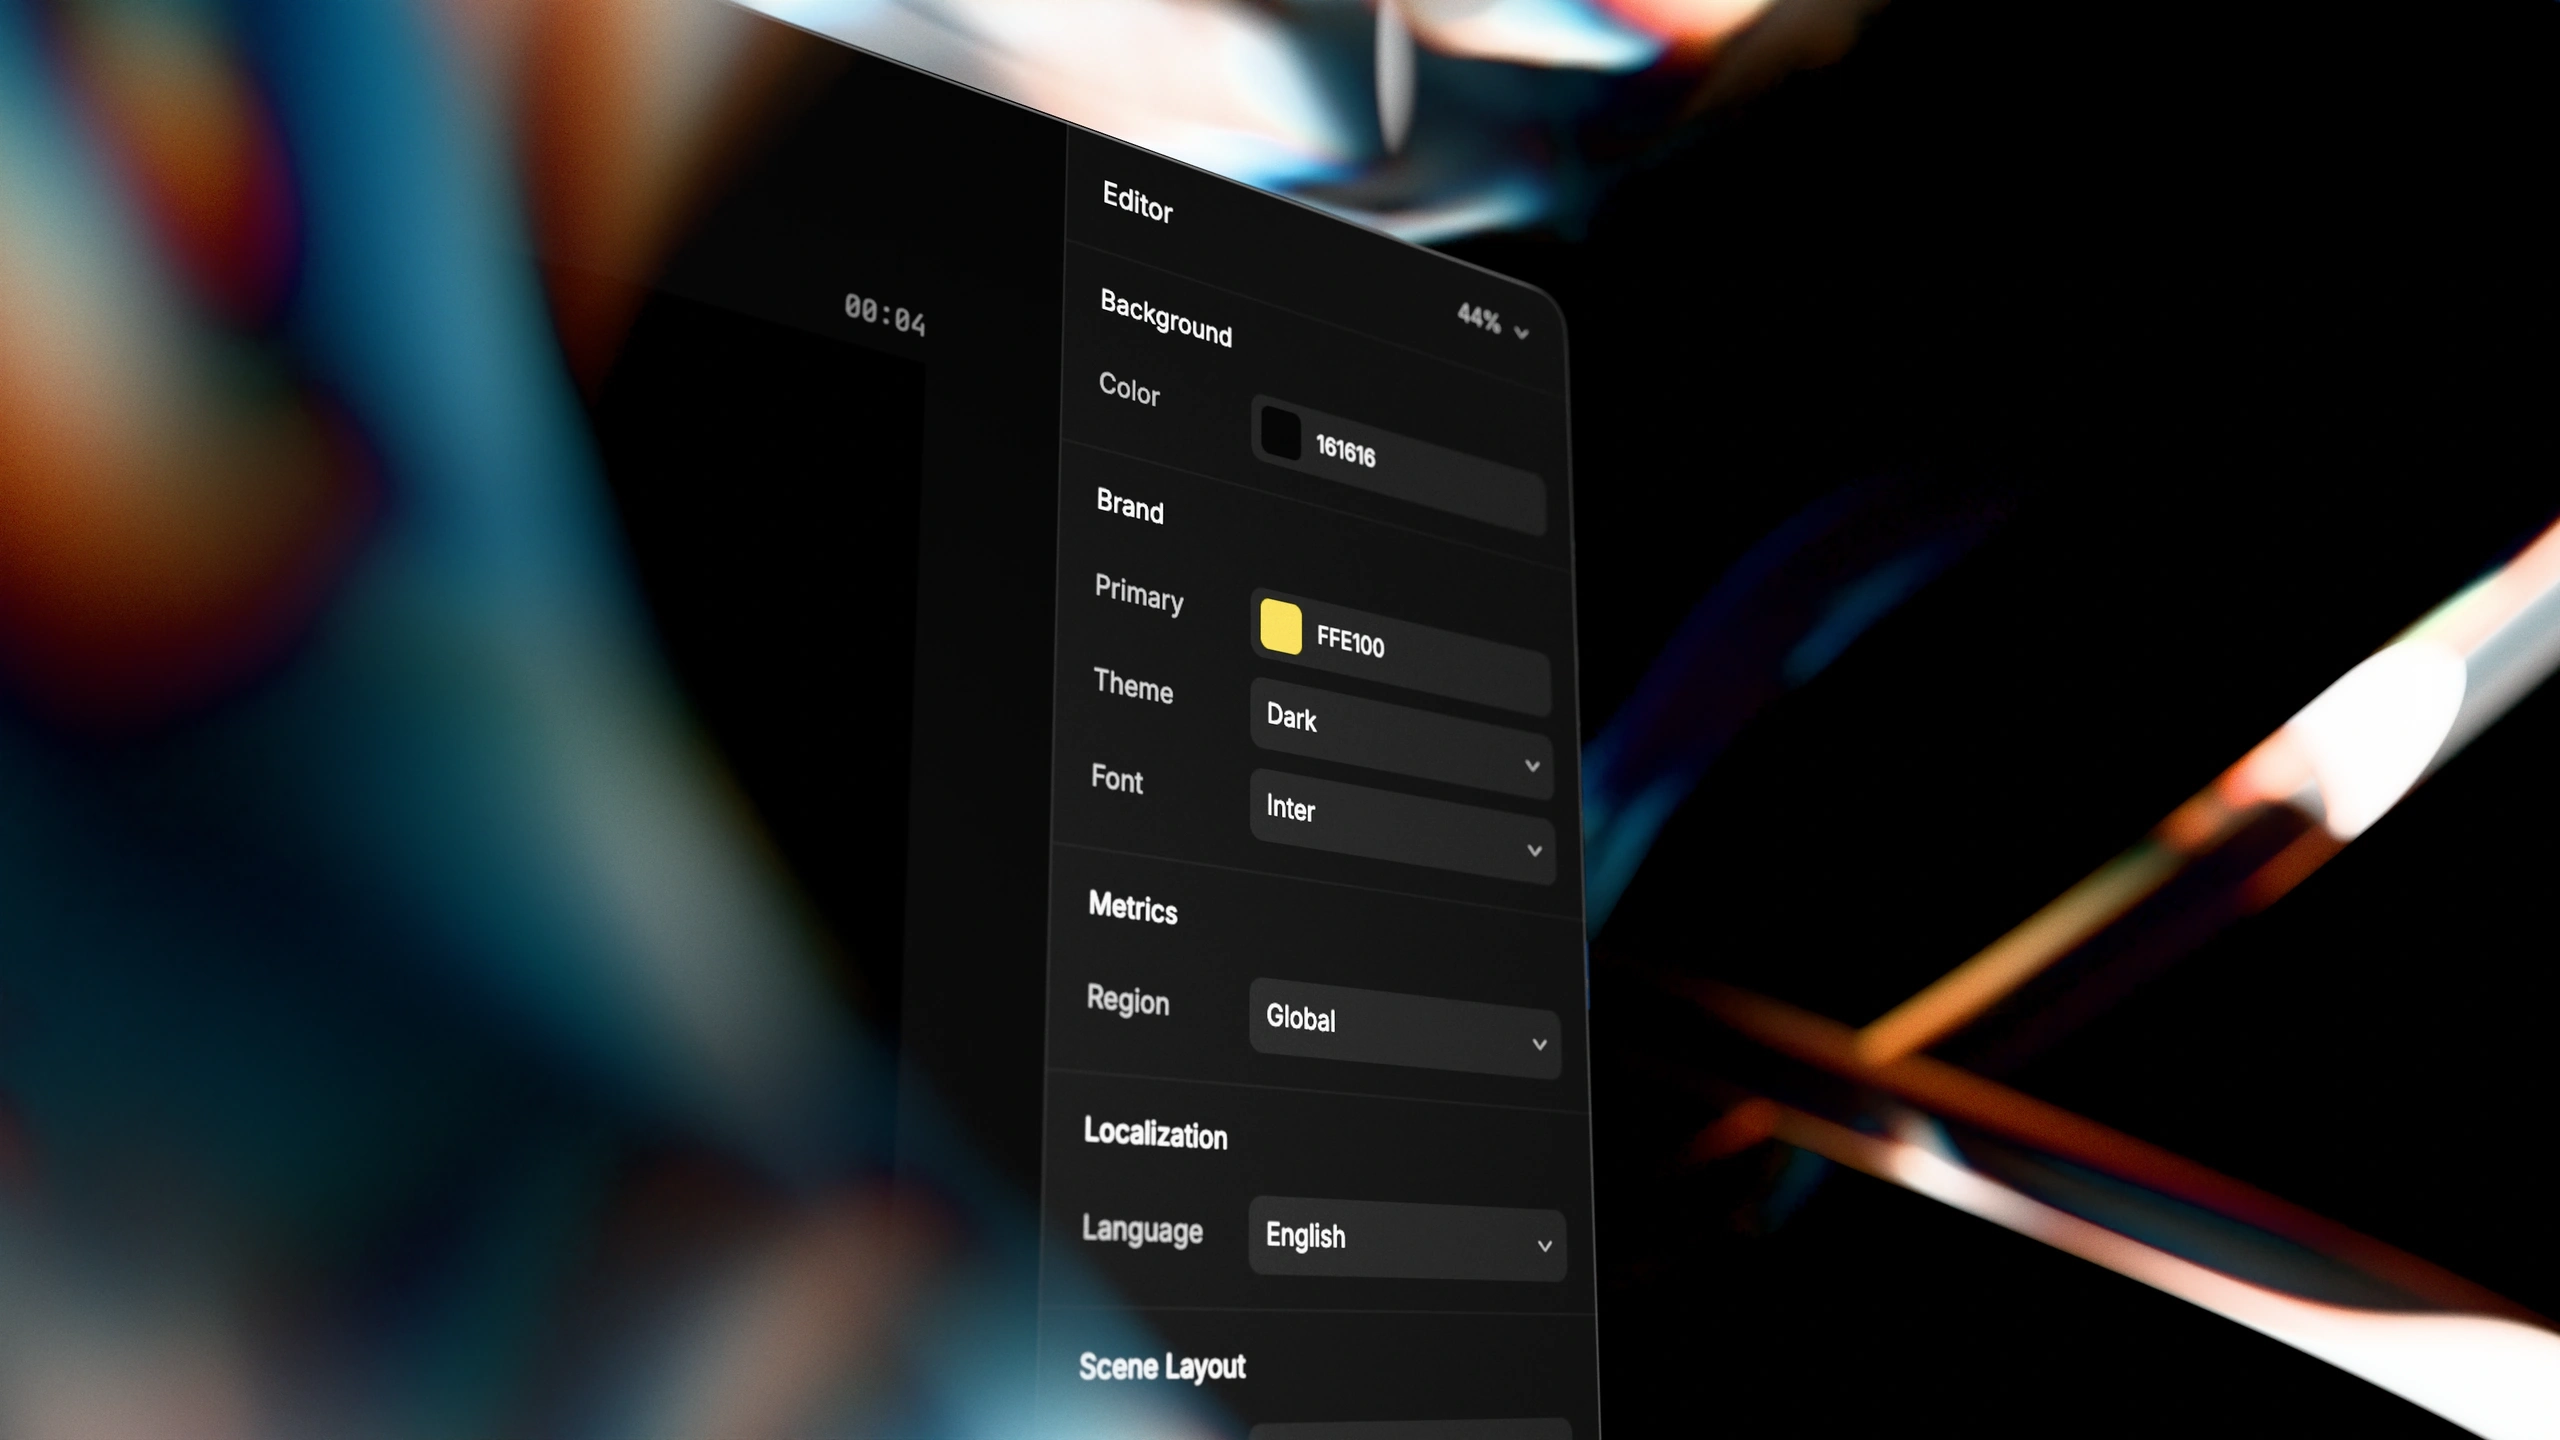
The @inspect tag lets you and your agent create custom controls for your video projects. Use one control to adjust text, colors, spacing, or timing across several elements at once.
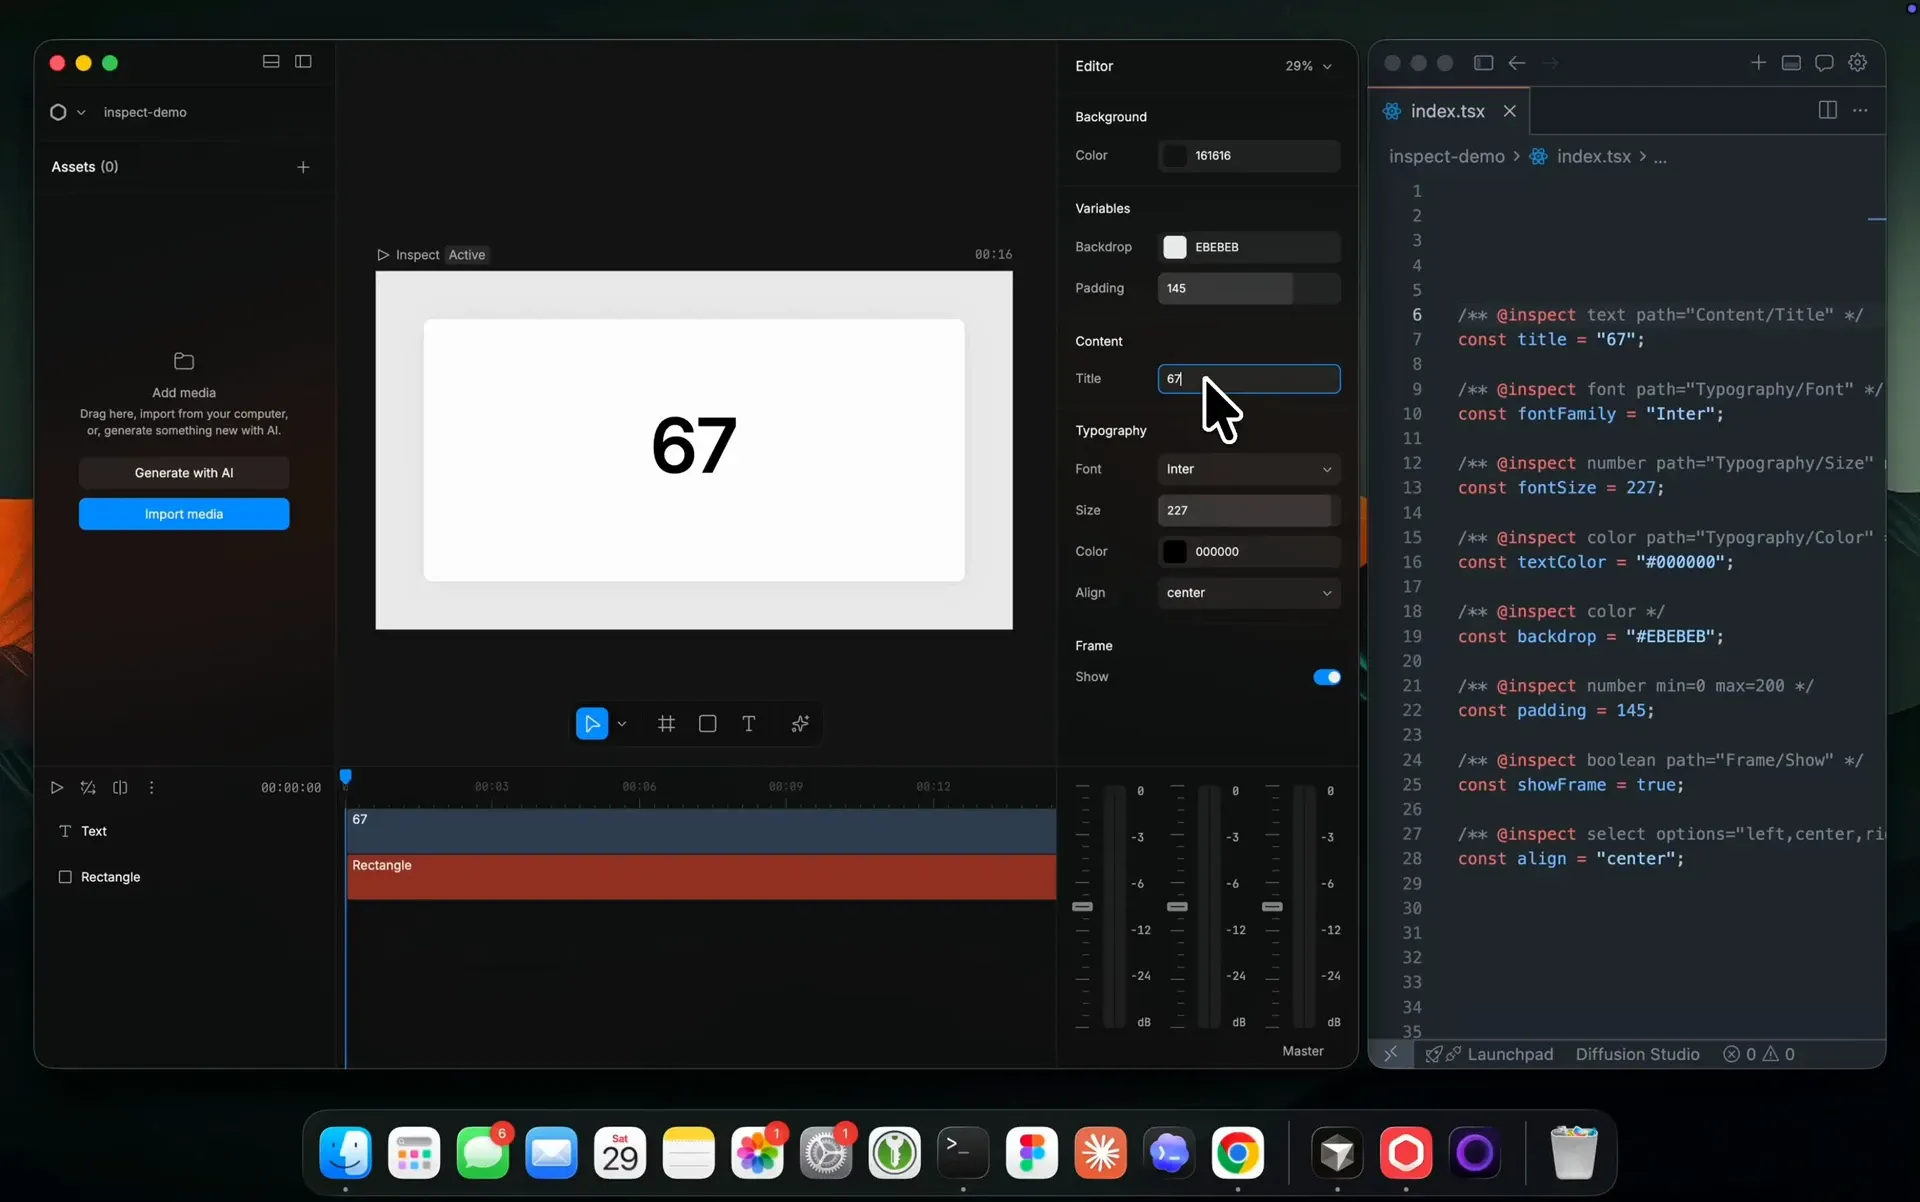
Ask your agent to add controls for the choices you want to adjust. You can then refine the edit using those controls.
Create a control
To choose between language versions of a video, add an @inspect comment above a top-level const:
/** @inspect select options="English,Spanish,French" label="Language" */
const language = "English";
Your scene code uses language to select the translated text and font settings you’ve supplied for each version.
The editor updates the preview as you adjust the control and saves the new value in your project’s code. You can undo and redo these changes.
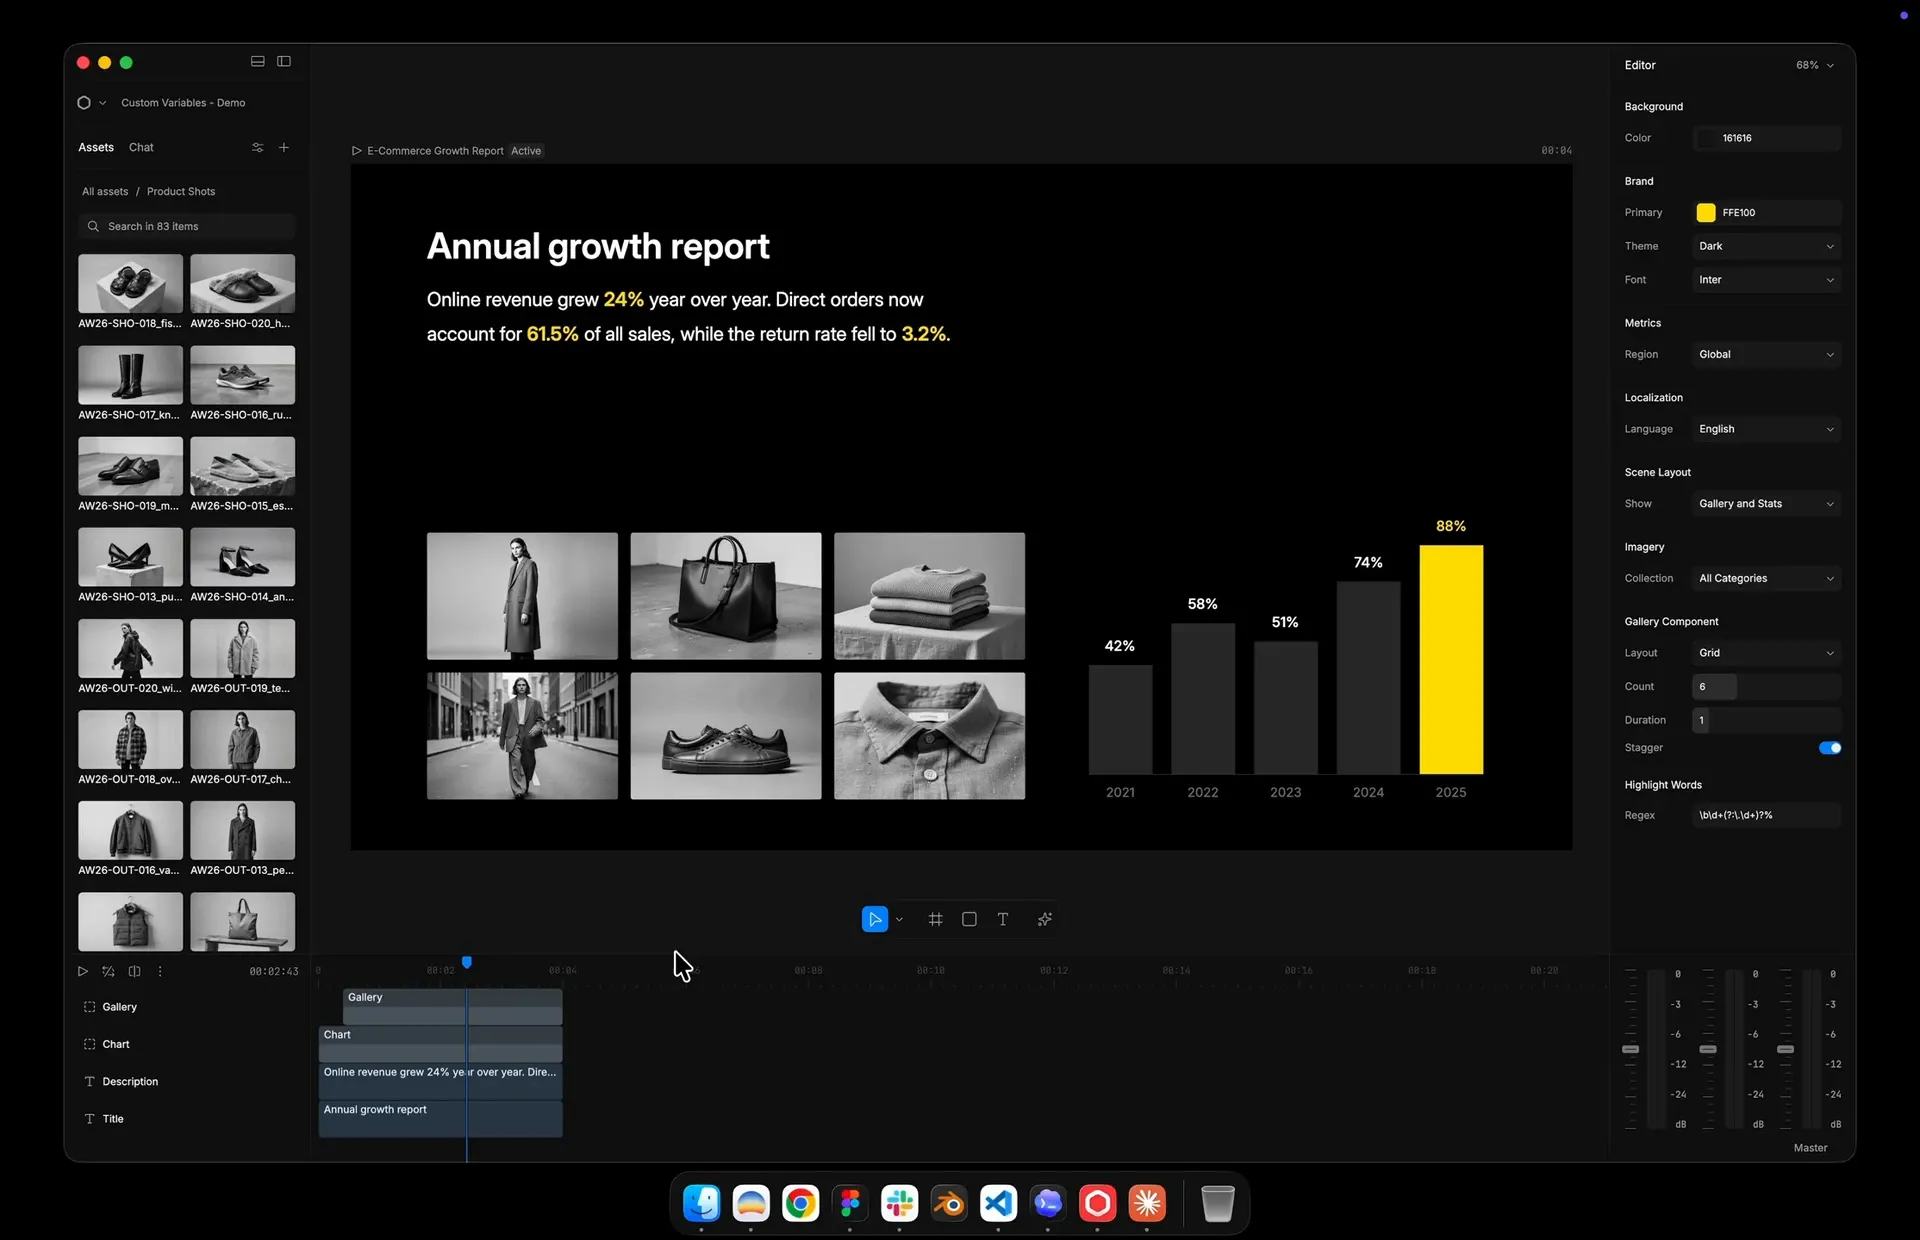
The e-commerce growth report in the demo video above is an open source Diffusion Studio project. The repository includes the scenes, the data, the product photos, and the controls. Explore it on GitHub.
More ways to use controls
Apply a color palette
Switch between palettes you define, including light and dark versions. Your code sets the matching background, text, and accent colors.
/** @inspect select options="light,dark,brand" label="Color palette" */
const palette = "light";
Set your project’s brand color
Define your brand color once and use the variable across the project. Changing the control updates every element that uses it.
/** @inspect color label="Brand color" */
const brandColor = "#6366FF";
Adjust pauses around speech
Set how much footage to keep before and after each spoken section. Your code uses transcript timings to adjust the cuts and place the clips in sequence.
/** @inspect number label="Before speech (seconds)" min=0 max=1 step=0.05 */
const beforeSpeech = 0.15;

/** @inspect number label="After speech (seconds)" min=0 max=1 step=0.05 */
const afterSpeech = 0.25;
Your agent can prepare the speech timings and trimming rules. You can then adjust the pauses across an interview or talking head video.
Update a recurring report
Update the figures in a recurring video report. Your code uses the same data for the displayed numbers, charts, and progress indicators.
Choose a layout
Choose layouts for speaker labels, end cards, or closing credits. Your code sets the position, alignment, and spacing for each option.
For example, switch a speaker label between the left and right sides of the frame, or arrange credits in one or two columns.
Choose named clips and their data
Ask your agent to prepare clip data from a spreadsheet. Choose a clip by name to use its footage and matching information in the video.
/** @inspect select options="Camera,Headphones,Speaker" label="Clip" */
const selectedClip = "Camera";
Each spreadsheet row can define a clip name, media file, heading, price, and other details. Your code uses selectedClip to select the matching project data. Ask your agent to refresh that data when the spreadsheet changes.
Supported controls
| Type | Editor control |
|---|---|
number | Slider or draggable number field |
color | Color picker |
text | Text area |
font | Font picker |
boolean | Toggle |
select | Dropdown with options you define |
You can name controls and organize them into groups. Number controls support minimum and maximum values and a step size. Setting both a minimum and maximum creates a slider.
See the Inspect reference for syntax, examples, and supported declarations.
Export from the terminal
You and your agent can now export scenes with the dapi CLI. Scripts can also run the command to automate exports.
Run dapi export with the scene ID. This example exports the scene intro:
dapi export introThe command saves the video in your project’s exports folder using the scene’s saved export settings. The default settings are 1080p H.264 MP4 with AAC audio.
You can specify a destination and filename:
dapi export intro ~/Desktop/intro.mp4The file extension sets the output format.
Export in the background
Use -b to open a project in the background before exporting:
dapi open -b ~/videos/launch
dapi export intro
Added
- Added a Connect your agent welcome screen that guides you through installing
dapiand the bundled skills for editing videos with your agent. - The editor now saves each scene’s timeline zoom and scroll position.
Improved
- Export settings now show the output’s pixel dimensions and include an option to export at the scene’s original size.
- The editor checks whether it can encode the selected codec, resolution, and bitrate before rendering.
- Export file-size estimates now use the output’s pixel dimensions.
Fixed
- Fixed portrait export sizing. A 1080 × 1920 scene exported at 1080p now remains 1080 × 1920.
- Fixed the export progress display showing landscape dimensions for other aspect ratios.
- Fixed timeline drawing after restoring a saved view or switching scenes following a resize.
- Fixed broken links to bundled agent skills after moving the app. The app repairs these links on launch.